So you’ve decided to install melamine boards in your home and you’re not quite sure where to start. Look no further! This article serves as your ultimate guide to step-by-step melamine board installation. From measuring and cutting the boards, to attaching them securely and finishing off with a professional touch, we’ve got you covered. Whether you’re a seasoned DIY enthusiast or a beginner taking on your first home project, this comprehensive guide will walk you through every stage of the installation process, ensuring a successful and flawless end result. Get ready to transform your space with the sleek and durable beauty of melamine boards.
Preparation
Before you dive into the process of installing a melamine board, it’s important to make sure you have everything you need and create a plan for the project. Here are a few steps to help you prepare:
Measuring and Planning
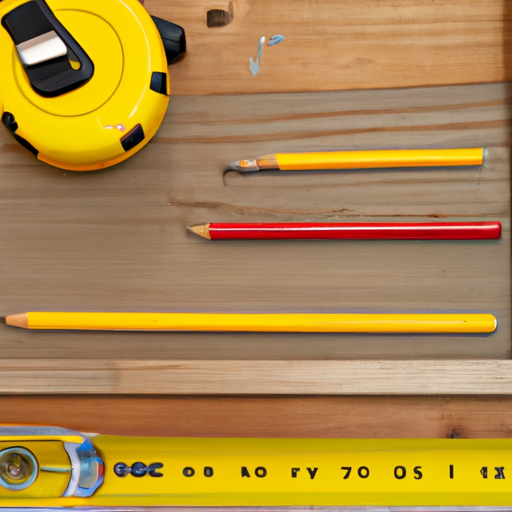
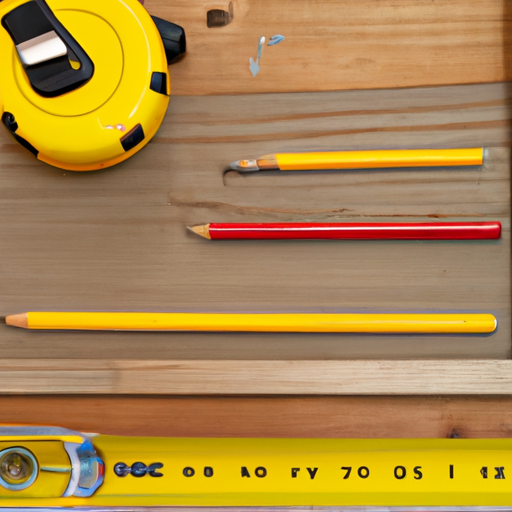
The first step in any installation project is accurate measurements and careful planning. Measure the area where you will be installing the melamine board, taking into account any obstacles or existing features like electrical outlets. Use a tape measure and a level to ensure your measurements are precise. Once you have your measurements, sketch out a simple diagram of the space and make note of any specific dimensions or requirements.
Gathering Materials
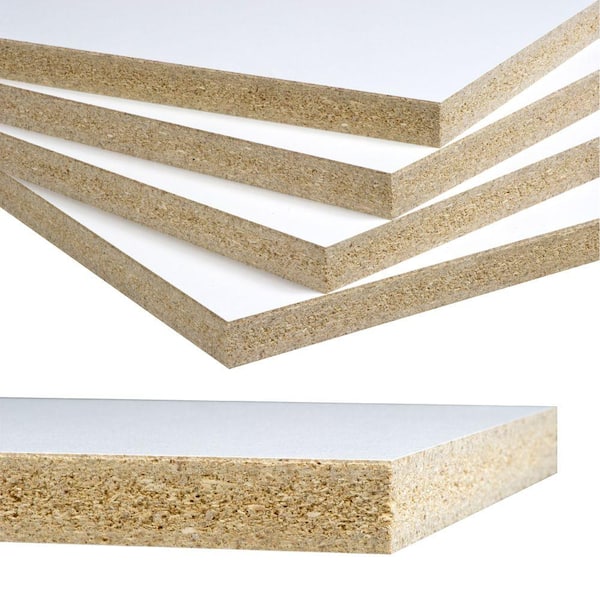
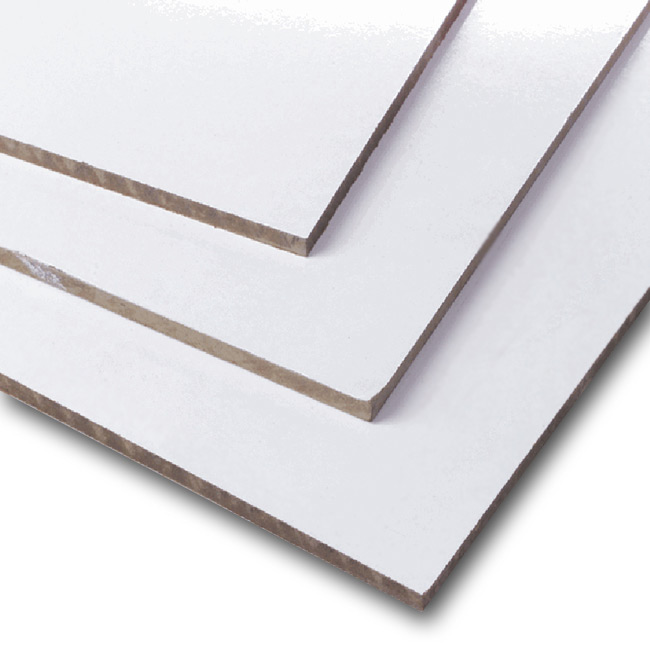
Once you have your measurements and plan in place, it’s time to gather all the materials you’ll need for the installation. Start with the melamine board itself, making sure you have enough to cover the entire area. You’ll also need screws or adhesive, depending on your preferred method of securing the board, as well as the appropriate tools for cutting and assembling the board. Additionally, consider purchasing edge banding to give your project a polished, finished look.
Preparing the Work Area
Before you begin cutting or installing the melamine board, take the time to prepare your work area. Clear out any existing furniture or objects that may be in the way, and lay down protective coverings on the floor to prevent any damage. Ensure that you have enough space to move around comfortably and safely. Additionally, gather any necessary tools and make sure they are in good working condition.
Cutting the Melamine Board
Once you have your materials ready and your work area prepared, it’s time to cut the melamine board to the desired size and shape. Here’s how you can do it:
Marking the Board
Before you start cutting, mark the melamine board with the appropriate measurements. Use a tape measure and a pencil to ensure accurate markings. Take your time to double-check your measurements before proceeding to avoid any costly mistakes. It’s also a good idea to label each section of the board to keep things organized during the installation process.
Using a Circular Saw
A circular saw is an excellent tool for cutting melamine board. Set the saw to the appropriate depth, typically around 1/4 inch deeper than the thickness of the board. Start cutting slowly and steadily, following your marked lines. Be sure to use a straight edge or guide to ensure a clean, straight cut. Take care to keep your fingers and hands away from the blade for safety.
Using a Jigsaw
If you need to make curved or intricate cuts, a jigsaw is the ideal tool for the job. Attach a fine-toothed blade to the jigsaw and secure the melamine board firmly in place. Start cutting along the marked lines, moving the jigsaw smoothly and steadily. Take your time and use light, controlled pressure to avoid any chipping or splintering of the board. Again, prioritize safety by keeping your hands away from the blade at all times.

Assembling the Melamine Board
With your melamine board cut to the appropriate size, it’s time to assemble it. Here are a few key steps to consider:
Securing the Melamine Board
Decide on the method of securing the board that works best for your project. You can either use screws or adhesive. If you choose screws, make sure to drill pilot holes to prevent the board from splitting. Place the board in position and secure it carefully, making sure it is level and flush with the surrounding surfaces. If you opt for adhesive, follow the manufacturer’s instructions for the best results.
Using Screws vs. Adhesive
The choice between screws and adhesive for securing the melamine board largely depends on personal preference and the nature of the project. Screws offer a more permanent and adjustable option, allowing for easier removal and replacement if necessary. On the other hand, adhesive provides a seamless, clean appearance without any visible fasteners. Consider the specific needs and constraints of your installation and choose the method that suits you best.
Joining Boards Together
In some cases, you may need to join multiple melamine boards together to cover a larger area. To join boards together, use a biscuit joiner or dowels to create strong, invisible joints. Apply adhesive or insert dowels into the corresponding holes, making sure the boards align perfectly. Press the boards together firmly and clamp them until the adhesive dries. If using screws, drill pilot holes and use screws to secure the boards together.
Finishing Touches
To give your melamine board installation a professional finish, consider the following steps:
Filling Holes and Gaps
Once the melamine board is securely in place, inspect it for any visible holes or gaps. Use wood filler or putty to fill these imperfections, then allow the filler to dry completely. Sand the filled areas until they are smooth and blend seamlessly with the rest of the board’s surface.
Sanding the Board
To ensure a smooth, polished look, sand the entire surface of the melamine board. Start with a coarse sandpaper to remove any rough spots or imperfections, then gradually switch to finer grits for a smoother finish. Be careful not to oversand and damage the melamine coating. Wipe away any dust after sanding to prepare the board for the next step.
Applying Edge Banding
To add a finished look to the edges of your melamine board, consider applying edge banding. Edge banding is a strip of veneer or PVC that matches the color and texture of the melamine board. It covers the exposed edges, giving them a smooth, professional appearance. Use a hot iron or special edge banding tool to adhere the banding to the edges, then trim off any excess for a clean finish.

Installing the Melamine Board
You’re almost there! It’s time to install the melamine board in its designated space. Follow these steps for a successful installation:
Aligning the Board
Carefully align the melamine board with your previous measurements and ensure that it is level. Use a level and shims, if necessary, to make any necessary adjustments. Take your time during this step, as proper alignment is crucial for a visually appealing installation.
Attaching the Board to the Wall Studs
If you are installing the melamine board on a wall, it’s essential to attach it securely to the wall studs for stability. Locate the wall studs using a stud finder or by tapping the wall, then mark their positions. Use screws or nails to fasten the board directly to the studs, ensuring they penetrate the board and go securely into the studs for maximum support.
Installing Corner Braces
To further reinforce the stability of the installed melamine board, consider adding corner braces. Corner braces are metal brackets that provide additional support to corners and joints. Attach them by using screws or nails to secure them to both the melamine board and the adjacent wall. Make sure the braces are properly aligned and firmly attached for optimal strength.
Adding Shelves or Drawers
If your project involves adding shelves or drawers to your melamine board installation, follow these steps:
Measuring and Marking for Shelves or Drawers
Measure and mark the desired locations for your shelves or drawers on the melamine board. Use a tape measure, level, and pencil to ensure accurate placement. Take into account the size and weight capacity of the shelves or drawers to determine the appropriate spacing and dimensions.
Installing Shelf Supports
To support the weight of shelves, install shelf supports within the melamine board. Measure and mark the positions of the supports, then use appropriate hardware (such as shelf brackets or shelf pins) to attach them securely to the board. Make sure the supports are level and properly aligned to guarantee the stability of your shelves.
Building and Installing Drawers
If you’re adding drawers to your melamine board installation, follow these steps to ensure a successful integration:
- Measure and cut the drawer components (front, back, sides) to the desired sizes, ensuring they fit within the designated space on the board.
- Use a suitable method to join the drawer components together. This could include using dovetail joints, dado joints, or drawer slides.
- Install drawer slides on the supporting shelf or within the cabinet opening, following the manufacturer’s instructions.
- Attach the drawer front to the drawer box, aligning it properly and securing it firmly in place.
- Test the drawers for smooth operation and adjust as necessary.

Maintaining Melamine Board
To keep your melamine board looking its best and extend its lifespan, follow these maintenance tips:
Cleaning and Care Tips
Regularly clean the surface of the melamine board with a mild detergent and warm water. Avoid using abrasive or harsh cleaners that can damage the finish. Wipe up spills promptly to prevent staining, and use coasters or placemats to protect the surface from heat and moisture. Avoid dragging heavy or sharp objects across the board, as this can cause scratches or dents.
Repairing Scratches or Damage
In the event that your melamine board sustains scratches or damage, there are a few options for repair. Minor scratches can often be concealed with a melamine touch-up pen or marker that matches the board’s color. For deeper scratches or dents, consider using a melamine repair compound or filler. Follow the manufacturer’s instructions for the specific product you choose, and sand and blend the repaired area to match the surrounding surface.
Safety Precautions
Throughout the installation process, it’s important to prioritize safety. Here are a few precautions to keep in mind:
Wearing Protective Gear
When working with melamine boards, wear appropriate protective gear such as safety glasses, earplugs, and gloves. This will help protect your eyes, ears, and hands from potential injuries. Additionally, make sure to wear clothing that covers your arms and legs to prevent cuts or scratches.
Using Tools Safely
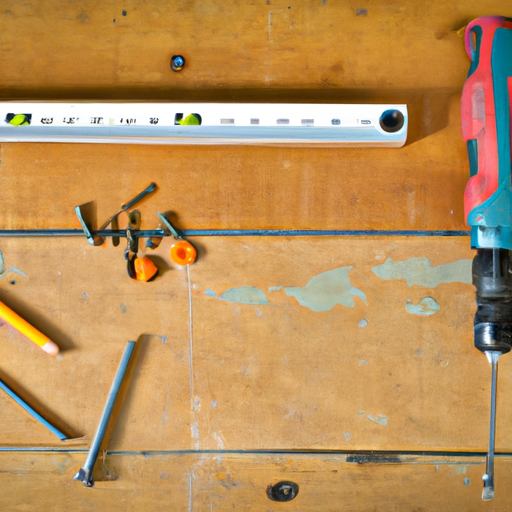
Use tools as instructed by the manufacturer and follow all safety guidelines. Be familiar with the proper operation of each tool before using it, and never force a tool if it’s not working correctly. Keep your fingers and hands away from moving blades or sharp edges, and always unplug power tools when not in use. Take your time and work in a well-lit and well-ventilated area to minimize the risk of accidents.
Common Mistakes to Avoid
To ensure a successful melamine board installation, steer clear of these common pitfalls:
Not Measuring Accurately
Accurate measurements are crucial for a seamless installation. Take the time to measure twice and cut once to avoid costly mistakes. Double-check your measurements and markings throughout the process to maintain precision and consistency.
Not Using Proper Tools
Using the right tools for the job is essential to achieve professional results. Make sure you have the necessary tools and equipment, and familiarize yourself with their proper usage. Using improper tools can lead to inaccurate cuts, damaged boards, and compromised safety.
Forgetting to Secure the Board Properly
Properly securing the melamine board is vital to ensure its stability and longevity. Whether you choose screws or adhesive, make sure to follow the recommended guidelines and secure the board securely. Failure to do so can result in sagging, warping, or even detachment of the board over time.
Conclusion
Installing a melamine board can transform your space and provide a functional, durable surface. By following the step-by-step guide outlined above, you can confidently tackle this project and achieve professional results. Remember to measure accurately, gather the necessary materials, and take necessary safety precautions throughout the installation process. With proper planning and attention to detail, your melamine board installation will be a success.
Summary
Installing a melamine board involves several key steps, starting with measuring and planning and ending with adding finishing touches. Cutting the melamine board requires precise marking and the use of either a circular saw or jigsaw, depending on the desired cuts. Assembling the board involves securing it with screws or adhesive and joining multiple boards together if necessary. Finishing touches include filling holes, sanding, and applying edge banding for a polished appearance. Installing the melamine board involves aligning it properly, attaching it securely to wall studs, and reinforcing with corner braces. Adding shelves or drawers involves careful measurement and installation of the necessary components. Maintenance of melamine board includes cleaning and care tips, as well as repairing any damage. Safety precautions should be observed throughout the installation process, and common mistakes such as inaccurate measuring or improper tool usage should be avoided. By following these steps and recommendations, you can successfully install a melamine board in your space.
