So you’ve decided to install melamine boards in your home but don’t quite know where to start? Look no further, because this step-by-step guide is here to help you out. From prepping the surface to finishing touches, we’ll walk you through each stage of the installation process, providing expert tips and tricks along the way. Whether you’re a seasoned DIYer or a novice looking to tackle a new project, this comprehensive guide will ensure that your melamine board installation is a success. Let’s get started!
Table of Contents
ToggleTypes of Melamine Boards
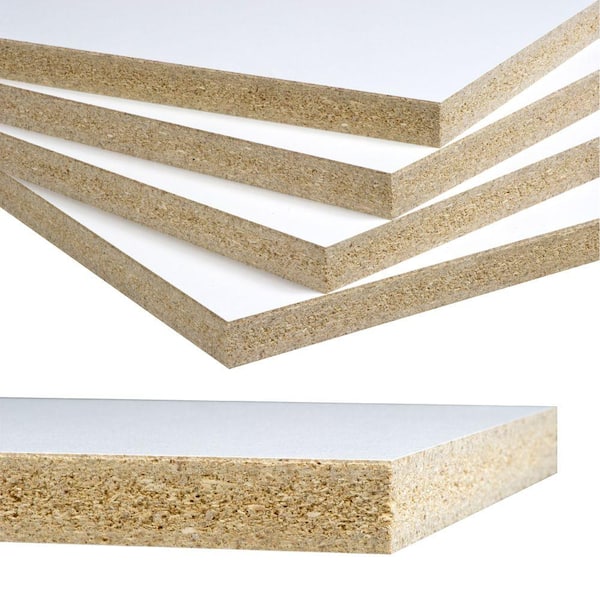
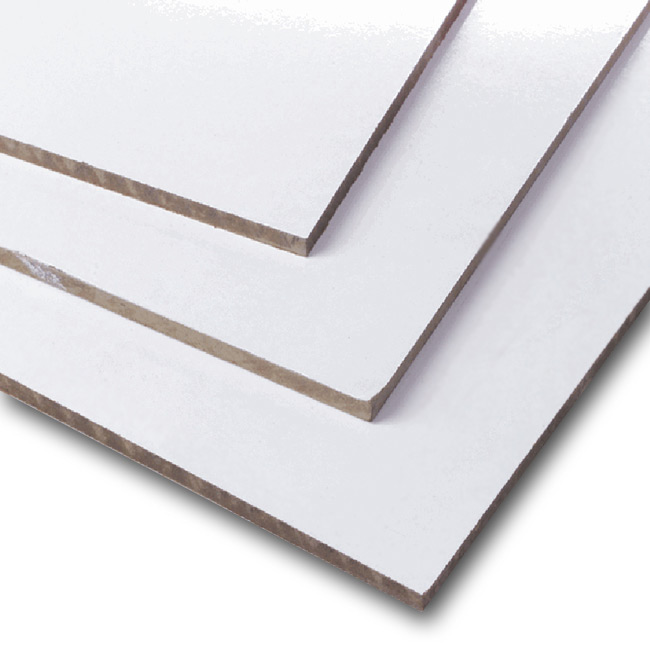
Before diving into the installation process, it’s important to understand the different types of melamine boards available:
- Standard Melamine Board: The most common type, suitable for general use.
- Moisture-Resistant Melamine: Ideal for bathrooms and kitchens.
- Fire-Resistant Melamine: Designed for areas requiring additional safety measures.
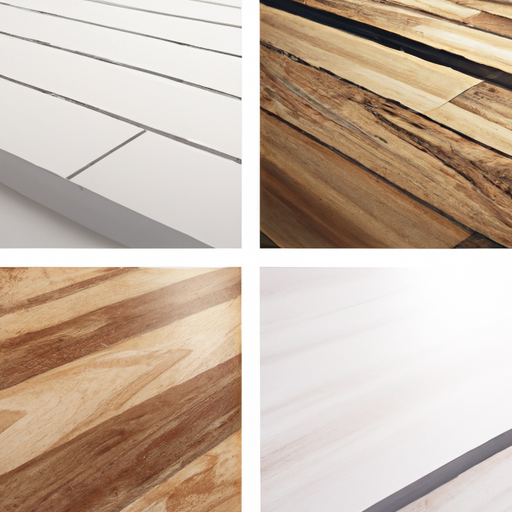
- Decorative Melamine: Comes in various patterns and colors for aesthetic appeal.
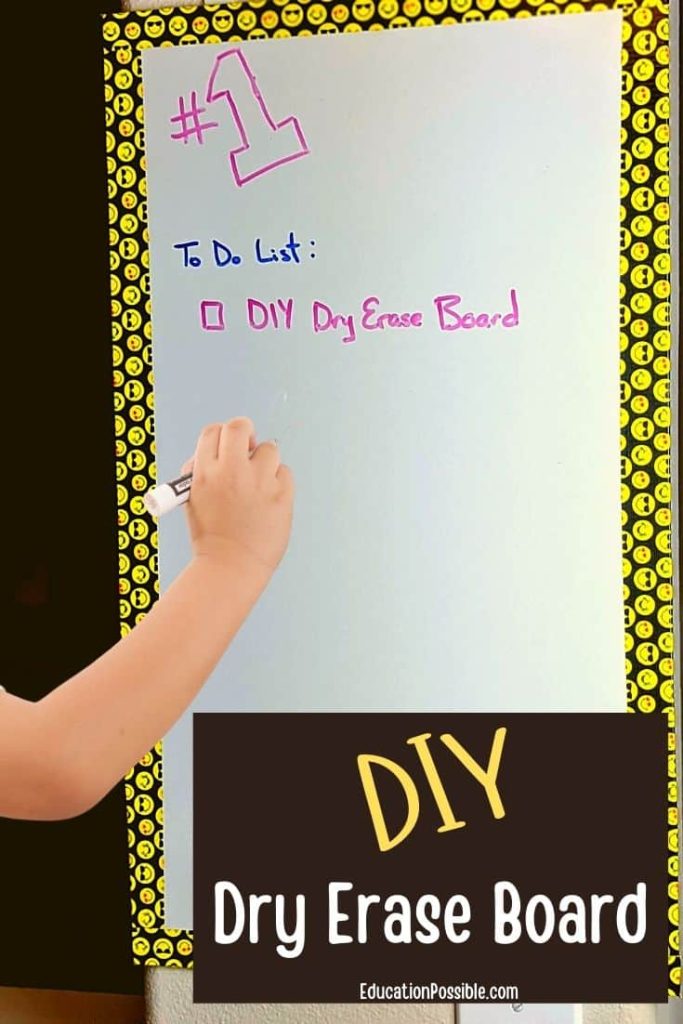
- Whiteboard Melamine: Specifically designed for use as dry-erase surfaces.
Each type has its unique properties and applications, so choose the one that best suits your needs.
Comparison with Other Materials
When considering melamine boards for your project, it’s helpful to understand how they compare to other materials:
- Cost: Generally more affordable than solid wood or high-end laminates.
- Durability: More resistant to scratches and wear than painted surfaces.
- Maintenance: Easier to clean and maintain compared to untreated wood.
- Installation: Typically simpler to install than tile or solid wood paneling.
- Versatility: Available in a wide range of colors and finishes.
Consider these factors when deciding if melamine boards are the right choice for your project.
Preparation
Before you begin installing melamine boards, it’s important to gather all the necessary tools and materials. You will need a circular saw, a straight edge or ruler, a measuring tape, a putty knife, finishing nails, adhesive, clamps, safety goggles, gloves, a dust mask, a damp cloth, and a mild detergent. Once you have all these tools and materials, you can move on to measuring and marking the installation area.
Measure and mark the installation area accurately using a measuring tape and a pencil. This will ensure that you have the correct dimensions for your melamine boards. Make sure to take into account any obstacles or fixtures that may affect the installation, such as electrical outlets or switches. Marking the installation area will also help you visualize the layout and determine where each board will go.
After marking the installation area, it’s important to prepare the surface before installing the melamine boards. Clean the walls thoroughly to remove any dirt, dust, or debris that may affect the adhesive’s bonding strength. If the walls are painted, consider sanding them lightly to create a rougher surface for better adhesion. Additionally, check for any level or straightness issues in the wall. If the wall is uneven or not straight, it’s a good idea to address these issues before proceeding with the installation.
DIY vs. Professional Installation
While this guide focuses on DIY installation, it’s worth considering the pros and cons of professional installation:
DIY Pros:
- Cost-effective
- Allows for customization
- Provides a sense of accomplishment
DIY Cons:
- Time-consuming
- Requires specific tools and skills
- Potential for mistakes
Professional Installation Pros:
- Expertise and experience
- Time-saving
- Often includes warranty
Professional Installation Cons:
- Higher cost
- Less personal involvement
- Potential scheduling conflicts
Assess your skills, budget, and time constraints to decide which option is best for you.
Cutting Melamine Boards
Once the installation area is prepared, you can start cutting the melamine boards to fit the measurements. Measure and mark the boards according to the dimensions you determined during the preparation stage. Use a measuring tape and a pencil to ensure accurate measurements.
To make the cuts, you’ll need a circular saw. Align the saw blade with the marked line on the board and carefully cut along the line. Make sure to go slow and steady to ensure straight and clean cuts. Using a straight edge as a guide can also help you achieve straight cuts.
Alternative Cutting Methods
While a circular saw is ideal, you can also cut melamine boards using:
- Hand Saw: For straight cuts without power tools. Use a fine-toothed saw and cut slowly to avoid chipping.
- Jigsaw: Useful for curved cuts or working in tight spaces.
- Table Saw: Excellent for long, straight cuts if you have access to one.
- Scoring Knife: For thinner melamine sheets, score deeply and snap along the line.
Always wear safety gear and work in a well-ventilated area, regardless of the cutting method.
Installing Melamine Boards
Now that you have your melamine boards cut to size, you can start installing them. Begin with the first board and apply adhesive on the back of the board. The adhesive should be spread evenly across the entire back surface to ensure a strong bond with the wall.
Press the board firmly against the wall, making sure it is aligned with the marked installation area. Apply pressure evenly to ensure proper adhesion. Once the board is in place, secure it further by using finishing nails. Place the nails along the edges of the board, making sure to drive them into the wall for added stability.
Continuing Installation
After installing the first board, you can move on to the next one. Measure and cut the next board according to the dimensions needed for the remaining space. Fit the cut board into place, ensuring that it aligns properly with the previously installed board.
To achieve uniform spacing between boards, use a spacer. This can be a small piece of wood or plastic that you place between the boards before securing them to the wall. The spacer will help maintain consistent spacing and prevent the boards from shifting.
Once the board is in position, secure it to the wall by following the same steps as before. Apply adhesive on the back of the board, press it firmly against the wall, and secure it with finishing nails.

Installing Corner Boards
When you reach the corners of the installation area, you will need to install corner boards. Measure and mark the corner boards according to the dimensions of the corners. Cut the boards to size using a circular saw, ensuring they fit snugly into the corner space.
Apply adhesive on the back of the corner boards and secure them against the walls. Use clamps to provide additional support and hold the corner boards in place while the adhesive sets. This will ensure that the corner boards are securely installed and won’t shift over time.
Working Around Obstacles
When installing melamine boards, you may encounter obstacles like electrical outlets or plumbing. Here’s how to handle them:
- Measure and mark the location of the obstacle on your board.
- Use a jigsaw or hole saw to cut out the marked area.
- Test fit the board to ensure the cut-out aligns properly.
- Sand the edges of the cut-out for a smooth finish.
- Install the board as usual, making sure not to cover or damage the obstacle.
Always turn off electricity and water before working near outlets or plumbing fixtures.
Filling Joints and Seams
To achieve a seamless look, it’s important to fill in the joints and seams between the melamine boards. Prepare a melamine filler paste according to the manufacturer’s instructions. The filler paste should have a consistency that is easy to work with and spreads smoothly.
Fill all the joints and seams with the melamine filler paste, using a putty knife. Make sure to apply an even layer of filler, smoothing it out as you go. This will help achieve a level surface and conceal any gaps between the boards. Allow the filler to dry completely before moving on to the next step.
Once the filler has dried, sand it lightly to achieve a smooth and level surface. Use sandpaper or a sanding block to remove any excess filler and create a seamless finish. Sanding will also ensure that the surface is ready for the next step of the installation process.
Applying Edge Banding
To give your melamine board installation a finished look, you can apply edge banding to the exposed edges of the boards. Measure and cut the edge banding to fit the length of each exposed edge. Make sure to cut the banding slightly longer than needed to accommodate trimming.
Apply adhesive to both the edge banding and the corresponding edge of the board. Press the edge banding firmly onto the board, ensuring it is aligned and sticks securely. Trim any excess banding using a utility knife, ensuring a clean and neat finish.
Sanding and Finishing
Once the melamine boards and edge banding are in place, it’s important to sand the surface to achieve a smooth and professional finish. Use sandpaper or a sanding block to sand the surface of the boards, removing any imperfections or rough edges. Sanding will also help promote better adhesion of any sealers or finishes you choose to apply.
After sanding, remove all the dust using a damp cloth. Wipe down the entire surface of the boards, making sure to remove any debris or particles. This will ensure a clean surface for the next step.
To protect the surface and enhance its appearance, you can apply a melamine sealer or primer. Follow the manufacturer’s instructions for the specific product you choose. Apply the sealer or primer evenly, using a brush or roller. Allow it to dry completely before proceeding to the final step.
For an even more enhanced and durable finish, you can consider painting the melamine boards or applying a melamine topcoat. Choose a paint or topcoat specifically designed for melamine surfaces for best results. Follow the manufacturer’s instructions for application and drying times.
Troubleshooting Common Issues
Even with careful planning, you might encounter some issues. Here are solutions to common problems:
- Gaps between boards: Fill with color-matched caulk or additional filler.
- Uneven walls: Use shims behind the boards to create a level surface.
- Chipped edges: Repair with melamine edge banding or filler.
- Bubbling or peeling: Remove and reapply adhesive, ensuring full coverage.
- Visible fasteners: Cover with color-matched caps or filler.
Remember, patience is key when troubleshooting. Take your time to achieve the best results.
Cleaning and Maintenance
To keep your melamine board installation looking its best, it’s important to regularly clean it with a mild detergent. Use a soft cloth or sponge to gently wipe down the surface, removing any stains or dirt. Avoid using abrasive cleaners or scrubbing too vigorously, as this can damage the surface of the boards.
Periodically, inspect the melamine boards for any signs of damage or wear. Check for any chips, cracks, or peeling edges. If you notice any damage, it’s important to repair or replace the affected sections promptly to prevent further deterioration.
Safety Precautions
During the melamine board installation process, it’s essential to prioritize safety. Always wear safety goggles and gloves to protect your eyes and hands from any potential hazards. When cutting or sanding the boards, use a dust mask to prevent inhalation of particles.
Ensure proper ventilation in your workspace, especially when using adhesives or finishes. Open windows or doors, or use fans to circulate fresh air and reduce the concentration of fumes.
Lastly, always follow the manufacturer’s instructions for adhesives and finishes. Different products may have specific application, drying, and safety guidelines that you should adhere to for optimal results and safety.
By following these step-by-step instructions and safety precautions, you can successfully install melamine boards and achieve a professional and durable finish in your space. Happy installing!

Environmental Considerations
When using melamine boards, consider their environmental impact:
- Recyclability: While melamine itself is not recyclable, some manufacturers offer recycling programs for offcuts.
- VOC Emissions: Choose low-VOC adhesives and finishes to minimize indoor air pollution.
- Longevity: Proper installation and maintenance can extend the life of your melamine boards, reducing waste.
- Sustainable Sourcing: Look for melamine boards made from sustainably sourced materials.
By considering these factors, you can make more environmentally conscious choices in your home improvement projects.
