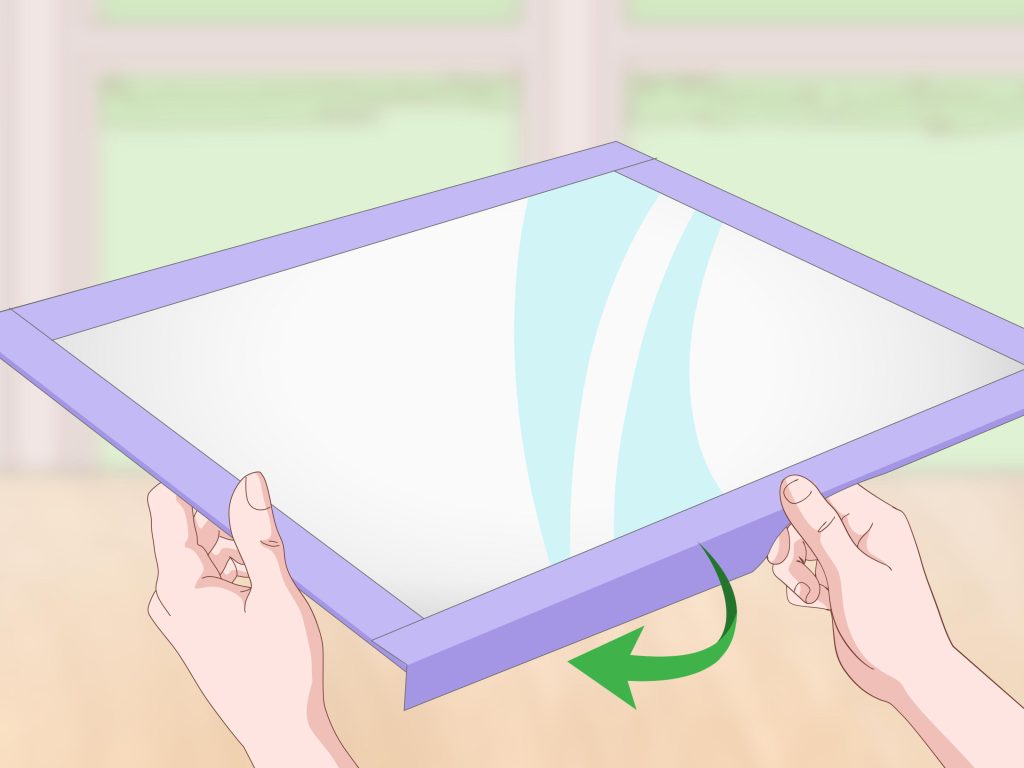
10 Genius Melamine Whiteboard Cleaning Hacks
So you’ve got a melamine whiteboard that’s looking a little worse for wear? Well, fret not, because in this article, we’ve got you covered with 10 genius cleaning hacks to make your whiteboard shine like new. Whether it’s stubborn stains, ghosting, or just general grime, these easy tricks will have your whiteboard looking pristine in no time. Say goodbye to messy chalkboards and hello to a fresh, clean slate for all your brilliant ideas. Let’s dive into these genius melamine whiteboard cleaning hacks and get your board sparkling again.
10 Genius Melamine Whiteboard Cleaning Hacks
cleaning your melamine whiteboard doesn’t have to be a tedious task. With a few clever hacks, you can keep your whiteboard looking pristine and free from stubborn stains. In this article, we will explore ten genius melamine whiteboard cleaning hacks that will make your cleaning routine a breeze. From understanding melamine whiteboards to homemade cleaning solutions and specialized cleaning products, we’ve got you covered. So, let’s dive in and discover the secrets to maintaining a sparkling whiteboard.
1. Understanding Melamine Whiteboards
Before delving into the cleaning hacks, it’s essential to understand what melamine whiteboards are. Melamine whiteboards are made of a particleboard core coated with a layer of melamine resin. This surface provides a smooth and glossy writing area that is easy to clean. It’s important to note that melamine whiteboards are not suitable for permanent marker use, as they can leave stains that are challenging to remove. Having this understanding will help you take the necessary precautions to keep your whiteboard in top condition.
2. Preparing the Cleaning Supplies
To effectively clean your melamine whiteboard, it’s crucial to have the right cleaning supplies on hand. You will need a lint-free cloth or microfiber cloth, a soft-bristle brush, a spray bottle, and a cleaning solution. Having these supplies readily available will save you time and ensure a thorough cleaning process. It’s also a good idea to set up a designated cleaning station near the whiteboard, making it convenient and easily accessible.

3. Basic Cleaning Techniques
To start the cleaning process, begin by using a dry lint-free cloth or microfiber cloth to remove any loose dust or debris from the whiteboard’s surface. This step prepares the board for a more thorough cleaning. Next, dampen the cloth with water or a cleaning solution and gently wipe the surface in a circular motion. This technique helps remove dirt and grime effectively without damaging the whiteboard’s surface. Lastly, use a dry cloth to remove any excess moisture and leave the whiteboard looking clean and polished.
4. Removing Stubborn Stains
Despite regular cleaning, stubborn stains on melamine whiteboards can still occur. But fret not, as there are effective ways to tackle those pesky marks. One method is to use a soft-bristle brush, such as a toothbrush, in combination with a mild cleaning solution. Gently scrub the stained area in a circular motion, being careful not to scratch the surface. If the stain persists, try using an eraser designed specifically for whiteboards. These erasers are gentle yet effective in removing stubborn stains without causing any damage.

5. Homemade Cleaning Solutions
If you prefer natural or DIY cleaning solutions, there are several options available that can work wonders on melamine whiteboards. One popular homemade solution is a mixture of equal parts water and vinegar. This solution is effective in cutting through grease and grime without leaving streaks. Another option is a paste made of baking soda and water. Apply the paste to the stain, leave it for a few minutes, and then gently scrub it off with a damp cloth. These homemade cleaning solutions are cost-effective, easy to make, and environmentally friendly alternatives.
6. Cleaning with Vinegar
Vinegar, specifically white distilled vinegar, is a powerful ally for cleaning melamine whiteboards. Its acidic properties make it an excellent stain remover and disinfectant. To clean your whiteboard with vinegar, dilute it with an equal amount of water and pour the mixture into a spray bottle. Spray the solution onto the whiteboard’s surface and use a soft cloth to wipe it clean. Vinegar is particularly effective in removing stubborn dry-erase marker stains, keeping your whiteboard looking fresh and spotless.

7. Erasing Permanent Marker
Accidentally using permanent marker on a melamine whiteboard can be quite distressing, as these marks are notoriously difficult to remove. Fortunately, there is a simple hack to help erase permanent marker stains. Take a dry-erase marker in a color similar to the permanent marker and carefully draw over the stain. Once the stain is covered, quickly wipe it away with a cloth or eraser. The alcohol in the dry-erase marker breaks down the permanent ink, making it easier to remove. Repeat this process until the stain is completely gone.
8. Maintaining and Preventing Damage
Preventing damage to your melamine whiteboard is just as important as maintaining its cleanliness. To ensure its longevity, avoid using abrasive materials, such as rough cloths or abrasive cleaners, as they can scratch the surface. Additionally, make sure to always use the appropriate markers for whiteboards, such as dry-erase markers, and avoid using permanent markers or other writing tools that can leave permanent stains. By taking these precautions, you can keep your whiteboard in excellent condition for years to come.

9. Using Specialized Cleaning Products
If you prefer the convenience of ready-to-use cleaning products, there are specialized options available specifically designed for melamine whiteboards. These products are formulated to effectively remove stains and maintain the whiteboard’s surface without causing damage. Look for whiteboard cleaning sprays or wipes that are specifically labeled safe for melamine surfaces. These products often contain gentle solvents that break down stains and make cleaning quick and effortless.
10. Additional Tips and Tricks
To wrap up our list of genius melamine whiteboard cleaning hacks, here are a few additional tips and tricks to help you keep your whiteboard in pristine condition:
- Regularly clean your whiteboard to prevent the build-up of dirt and stains.
- Avoid using excessive force or pressure when cleaning, as it can damage the surface.
- Consider investing in a whiteboard cleaner and conditioner to prolong the lifespan of your whiteboard.
- Use a magnetic eraser holder to keep your erasers easily accessible and prevent them from getting misplaced.
- Always follow the manufacturer’s instructions and recommendations for cleaning and maintenance.
By implementing these additional tips and tricks, you can ensure a clean, well-maintained melamine whiteboard that is always ready for productive brainstorming sessions or creative doodling.
In conclusion, keeping your melamine whiteboard clean and free from stains doesn’t have to be a daunting task. With these ten genius cleaning hacks, you can effortlessly maintain the pristine condition of your whiteboard. Whether you prefer homemade solutions, vinegar, or specialized cleaning products, there’s a method that suits your cleaning preferences. Remember to understand the nature of melamine whiteboards, prepare the necessary supplies, and follow proper cleaning techniques to prevent damage. By incorporating these cleaning hacks into your routine, you’ll have a sparkling whiteboard that enhances your productivity and creativity.

10 Genius Melamine Whiteboard Cleaning Hacks Read More »